Banner Design in CorelDraw, Easy Method, Complete Steps, Download Practice File in Varanasi Institutes
| Overview | Short description |
|---|---|
| What is this module about? | Designing print ready banners in CorelDraw using a simple workflow with complete steps and a practice file used by Varanasi institutes. |
| Which CorelDraw version is recommended? | CorelDraw X7 or newer works well. Features used include PowerClip, Drop Shadow, Transparency, Publish to PDF. |
| What banner sizes are common in Varanasi? | 3 x 6 ft 36 x 72 in, 4 x 8 ft 48 x 96 in, 6 x 3 ft 72 x 36 in, 2 x 5 ft 24 x 60 in, and custom sizes as per printer. |
| What units, color mode, and resolution should I use? | Units in inches or feet, CMYK color mode, 150 dpi at final size for large format. You can design at 25 percent scale with 300 dpi. |
| What bleed and safe margin should I set? | Bleed 0.25 inch on all sides. Keep important text 1 to 1.5 inch inside as safe area. For hem or eyelets keep 2 inch safe margin. |
| What is the easy method workflow? | Plan content, set document size and bleed, add background, place images, add headline and details, align and space, color and effects, preflight check, export for print. |
| What are the complete steps inside CorelDraw? | 1 Create New Document and name it. 2 Units to inches and size to required banner. 3 Color mode CMYK. 4 Add bleed 0.25 inch. 5 Drag guides for safe area. 6 Draw a full page rectangle for background and remove outline. 7 File Import to bring images. 8 Use Bitmaps Resample to set 150 dpi at final size and convert to CMYK if needed. 9 Use PowerClip to place images inside shapes. 10 Add headline and CTA using Text tool. 11 Use Align and Distribute to position objects. 12 Apply colors, gradients, transparency, and subtle shadows. 13 Check spelling and numbers. 14 Convert text to curves with Ctrl Q after final approval. 15 Save CDR and Publish to PDF with bleed. |
| How do I crop images into shapes quickly? | Draw the shape, place image above it, right click image, choose PowerClip Inside, click the shape. To edit, hold Ctrl and click or use Edit PowerClip. |
| How should I manage images and quality? | Use high resolution images, prefer 3000 px or more for large banners. In CorelDraw use Bitmaps Resample to adjust resolution, keep at least 150 dpi at final size, convert images to CMYK for print consistency. |
| What are quick typography rules for banners? | Use two font families at most, strong contrast between headline and body, adequate spacing, avoid thin scripts. For a 6 x 3 ft banner try headline 200 to 400 pt, subheading 90 to 150 pt, body 48 to 72 pt. |
| Which free fonts are safe to use? | Poppins, Montserrat, Roboto, Oswald, Lato. Always check licenses for commercial use. |
| What are layout and alignment tips? | Use big clear hierarchy, align with guides, keep text inside safe area, use Align and Distribute docker, P to center to page, C to center horizontally, E to center vertically, Ctrl D to duplicate, Ctrl G to group. |
| What color tips work best for flex printing? | Work in CMYK, avoid neon RGB colors, keep contrast high, use solid fills or simple gradients, test small prints if color is critical. |
| How do I add grommet and hem allowances? | Keep text at least 2 inch away from edges. Add small grommet guides every 2 ft at 1 inch from edges if required by printer. |
| How do I prepare a print ready PDF? | File Publish to PDF, preset PDF X 1a if available, output in CMYK, include bleed, enable crop marks if printer wants them, downsample images to 150 dpi or keep native if quality demands. |
| What should I send to the printer? | Print ready PDF with bleed, plus the CDR file only if the printer requests it. If sending CDR convert text to curves and embed bitmaps. |
| What materials are used by local printers? | Flex media 240 to 280 gsm, star flex, vinyl print with lamination, sunboard mounting. Confirm finishing like hem, eyelets, or pasting. |
| What are common mistakes to avoid? | Designing in RGB, no bleed, low resolution images, too many fonts, text too close to edges, not converting text to curves, heavy effects that print muddy, wrong banner size. |
| How can I reduce file size safely? | Convert linked images to CMYK and resample to needed dpi, remove unused objects, flatten heavy transparencies, export to PDF with image downsampling set to 150 dpi for large format. |
| Do you include keyboard shortcuts that save time? | Ctrl D duplicate, Ctrl G group, Ctrl U ungroup, Ctrl Q convert to curves, P center to page, C center horizontally, E center vertically, Shift Page Up bring forward, Shift Page Down send backward. |
| What is included in the practice file pack? | CDR templates for 3 x 6 ft, 4 x 8 ft, and 6 x 3 ft with bleed and safe guides, grommet guide layer, sample images that are license free, font suggestions, color swatches, a short step guide. |
| Where can I download the practice file? | The institute shares a Google Drive or local link during class. You can request the Practice Pack ZIP by contacting the Varanasi institute. |
| Is this beginner friendly? | Yes, the method is step by step and focuses on one clean layout with real print settings. |
| How long will the assignment take? | A basic banner can be completed in 60 to 90 minutes, including export and preflight. |
| Do Varanasi institutes provide live demo and print shop visit? | Many offer a live demo and share printer requirements. Some also arrange a short print shop visit to understand media and finishing. |
Hello friends, Welcome to Varanasiinstitute.com In This Post I am Going To Teach you How to Create Banner Design CorelDraw .In This Project you can Learn How To Design a Banner in CorelDraw Application in Easy Method.
Following Steps
You can also Download Practice file in This Post. So Let’s Star To Learn This Project, Before Start I Request You to Please Follow Give below step to learn Properly Step by step.
Read Also – Digital Marketing in Varanasi Institutes: Course Details, Fees, Syllabus & Career Opportunities
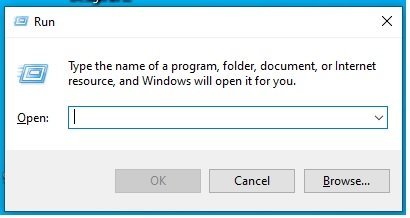
- Firstly, CorelDraw Open करने के लिए Windows + R Press करके Run Box Open करे।
- Secondly, Run Box CorelDraw Type करे।
- Link – Complete Digital Marketing Coaching in Varanasi
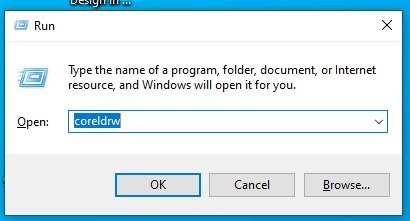
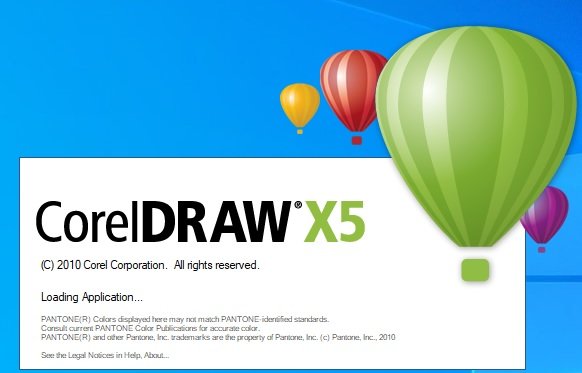
- Followingly, अब Ok पर click करके CorelDraw के Application को Open करे।
- Firstly, अब CTRL + N Press करे New page का Window Open होगा।
Link – Digital Marketing Course Scopes in Varanasi Institutes
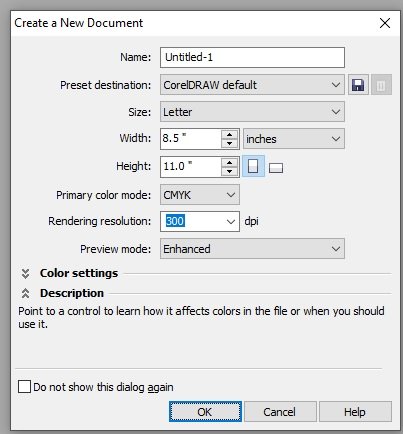
- Also, Ok पर Click करे Or CorelDraw का Main Page open करे।
- Next, Page की Size set करे।
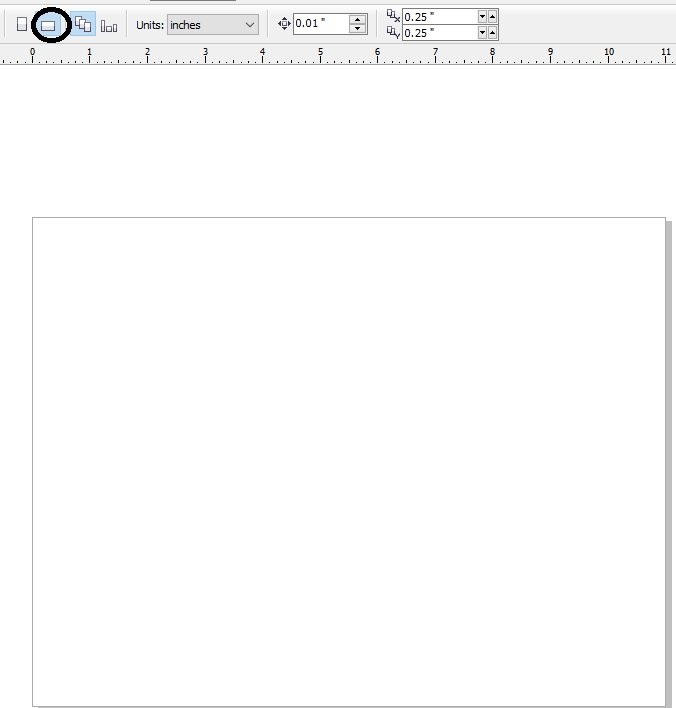
- Then, Rectangle Tool Par Double click करने पर
- Again, Page par Rectangle Shape बन जायेगा।
Read Also – Digital Marketing Course Fees in Varanasi Institutes
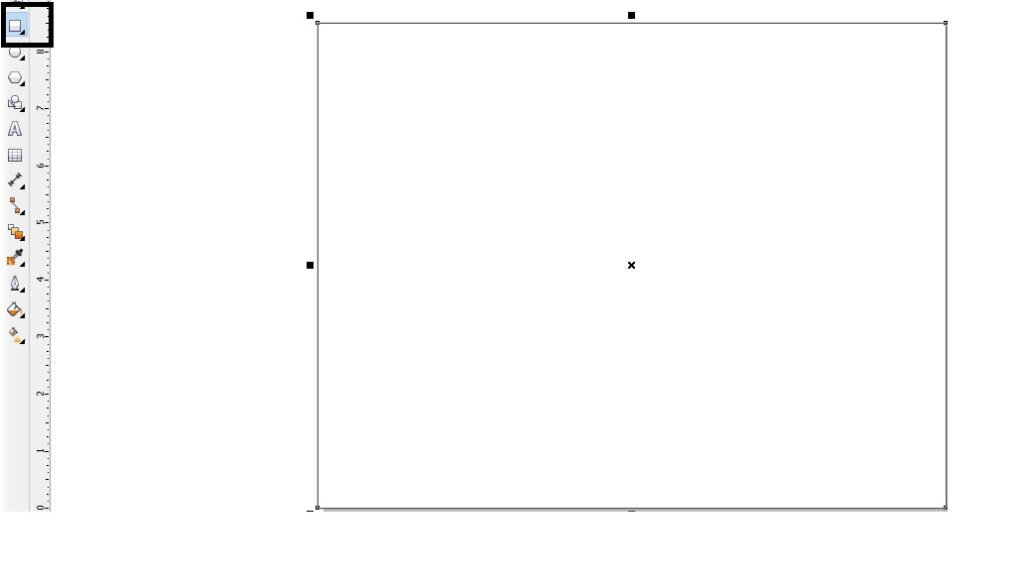
- Firstly, अब हम shape को fill करेगे।
- Secondly, Image को Insert करे या Download करे।
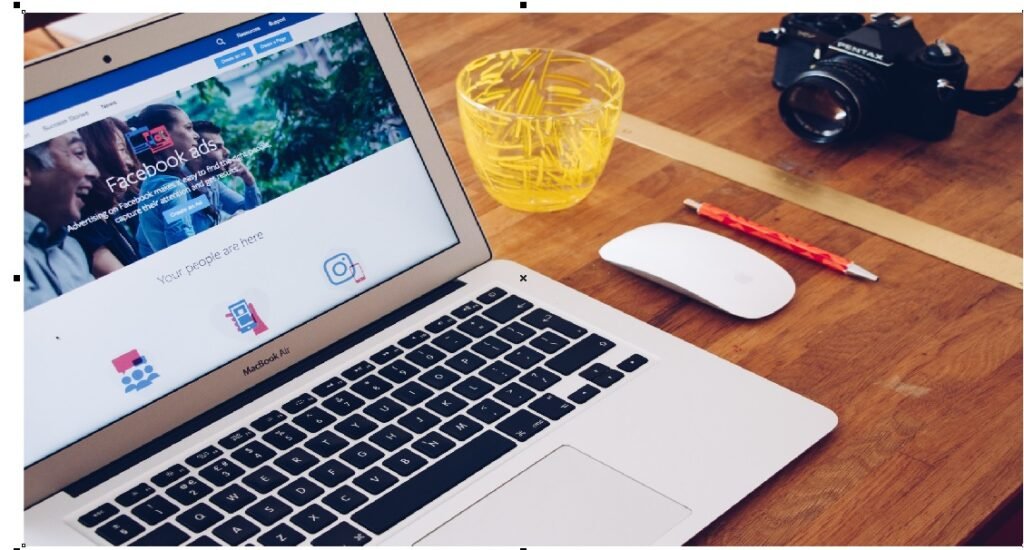
- Also, Image पर Transparency करने के लिए हम Transparency tool Use करते है।
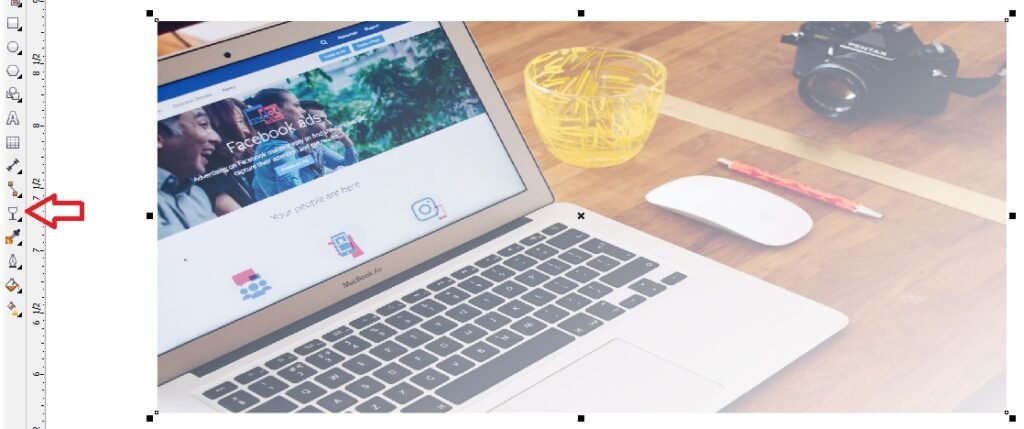
- Bitmaps Menu par Auto Adjust Option par Click करे
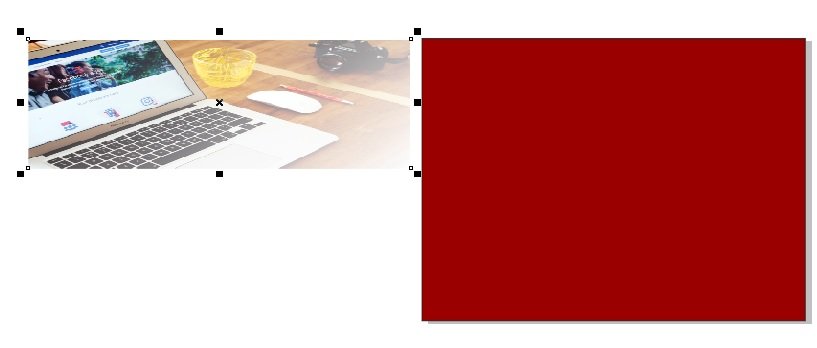
- Effects menu मे Power clip par Place Inside container Option click करने के बाद
- Page Par Click > CTRL + Right Click करे or Image को set करे।
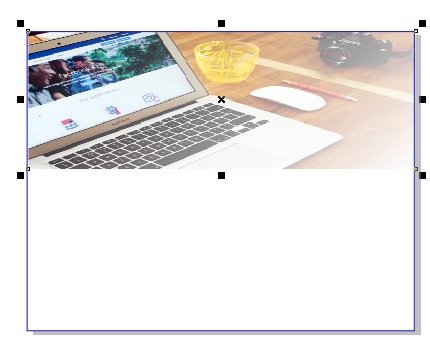
- अब Page के बाहर CTRL + Mouse से Click करने पर
- Image Page पर set हो जायेगा।
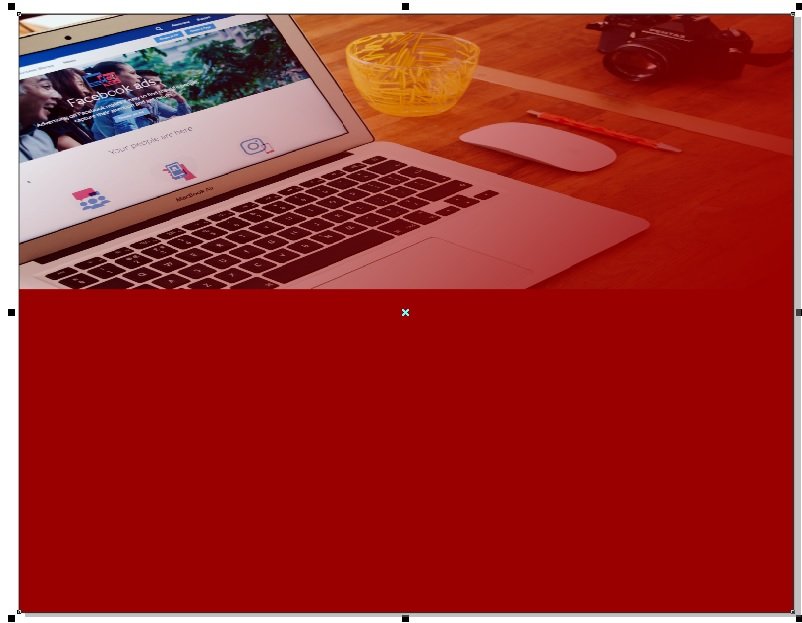
- Rectangle Shape Draw करे Or Color Fill करे।

- F10 Press Or CTRL + Q Press Side से Shape को move करे।

- अब एक Rectangle shape Draw करे Or उसे 90 डिग्री Rotate करे
- shape का Outline 8 Pt करे Or Outline color Fill करे।
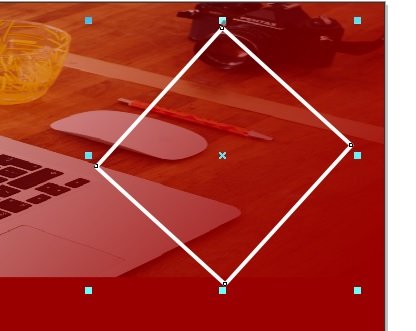
- CTRL + D से shape का Duplicate बनाये।
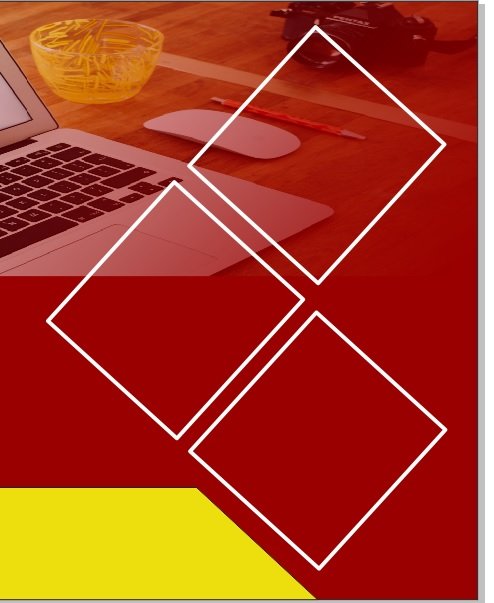
- अब एक Triangle shape Draw करे।
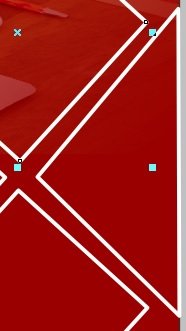
- Then, Triangle shape का Duplicate बनाये ।
- Also, Duplicate बनाने के लिए CTRL + D Press करे
- Shape को Page पर Set करे।

- Triangle shape Color Fill करे।

- Rectangle shape पर हम Image Insert या Download करके
- Image को Shape पर सेट करने के लिए।
- Bitmaps Menu par Auto Adjust Option par Click करे
- Effects menu मे Power clip par Place Inside container Option click करने के बाद
- Page Par Click > CTRL + Right Click करे or Image को set करे।

- File मे जाकर Logo insert करे या Download करे

- Text tool से Varanasi institutes लिखेगे।
- Phone Number लिखेगे or दोनों का font style बदले।

- Text tool से Detail Fill करेगे Or Fort style, Size, Color set करे।

- Save करने के लिए CTRL + S Button Press करे।
Read Also – Complete digital marketing coaching in varanasi
Banner Design in CorelDraw – Easy Method
अब सीधे चलते हैं मेन विषय पर। यहाँ पर आप सीखेंगे कि कैसे step by step एक आकर्षक और प्रोफेशनल बैनर CorelDraw में बनाया जा सकता है।
Step 1: CorelDraw ओपन करें और पेज सेटअप करें
सबसे पहले CorelDraw ओपन करें।
- “File” → “New” पर क्लिक करें।
- Document size सेट करें। उदाहरण के लिए अगर आपको 6×3 फुट का बैनर प्रिंट करना है, तो उसी अनुपात में पेज साइज सेट करें।
- “CMYK Color Mode” चुनें ताकि प्रिंटिंग के बाद कलर्स सही दिखें।
👉 ध्यान रहे: बैनर का साइज हमेशा client की रिक्वायरमेंट के अनुसार रखें।
Step 2: Background सेट करें
Banner Design in CorelDraw में सबसे पहले बैकग्राउंड तय करना ज़रूरी है।
- Rectangle Tool (F6) से पूरा पेज कवर करें।
- अब Gradient Fill या Solid Fill से बैकग्राउंड का कलर सेट करें।
- चाहें तो अलग-अलग टेक्सचर या high-quality image भी इस्तेमाल कर सकते हैं।
👉 प्रो टिप: बैकग्राउंड हमेशा हल्के और प्रोफेशनल शेड्स का रखें ताकि टेक्स्ट और इमेजेज साफ दिखें।
Step 3: Logo और Branding Elements ऐड करें
कोई भी बैनर incomplete है अगर उस पर ब्रांड का लोगो नहीं है।
- Import (Ctrl + I) का इस्तेमाल करके logo या branding icon को लाएं।
- इसे बैनर के ऊपर या कोने में स्मार्टली place करें।
👉 इससे आपकी Banner Design in CorelDraw प्रोफेशनल लगेगी।
Step 4: Heading और Main Text लिखें
बैनर का सबसे बड़ा आकर्षण उसका टेक्स्ट होता है।
- Text Tool (F8) चुनें और मुख्य हेडलाइन डालें।
- Font को bold और readable रखें।
- Subheading या Details छोटे साइज में डालें।
👉 ध्यान दें कि बैनर पर लिखे शब्द दूर से साफ दिखें। अक्सर लोग डेकोरेटिव फॉन्ट्स चुन लेते हैं जो पढ़ने में मुश्किल होते हैं।
Step 5: Images और Graphics जोड़ें
Banner Design in CorelDraw में images की पोजीशन और clarity बहुत मायने रखती है।
- Import ऑप्शन से product photos या related images डालें।
- PowerClip फीचर का इस्तेमाल करके इमेजेज को shapes में फिट करें।
- इमेजेस हमेशा high-resolution की होनी चाहिए ताकि प्रिंटिंग के बाद पिक्सलेटेड न दिखें।
Step 6: Colors और Contrast सही करें
बैनर को आकर्षक बनाने के लिए color combination का सही इस्तेमाल करें।
- Heading के लिए contrasting colors चुनें।
- Shadow या Outline टूल से टेक्स्ट को highlight करें।
- Corporate branding के कलर्स का ध्यान ज़रूर रखें।
👉 Example: अगर ब्रांड का logo नीला और सफेद है, तो पूरा बैनर उन shades में डिज़ाइन करना बेहतर रहेगा।
Step 7: Shapes और Decorative Elements ऐड करें
- CorelDraw में ellipse, star, polygon जैसी कई shapes होती हैं जिनका उपयोग design appeal को बढ़ाने में किया जा सकता है।
- ध्यान रखें कि बैनर ज़्यादा भरा-भरा न लगे। Minimal और classy look रखें।
Step 8: Final Touch और Alignment
- सभी text और objects को proper alignment दें।
- Guidelines और grid का इस्तेमाल करें।
- Zoom करके देखें कि कहीं कोई spelling mistake तो नहीं है और margins perfect हैं या नहीं।
Step 9: Export और Print-Ready बनाएं
काम पूरा होने के बाद
- File → Export पर क्लिक करें।
- Format PNG या JPG सोशल मीडिया के लिए रखें।
- Print के लिए TIFF या PDF (CMYK, 300 DPI) रखना सबसे सही रहता है।
Banner Design in CorelDraw को प्रोफेशनल बनाने के Tips
- कम शब्दों में ज्यादा बात: बैनर पर हजार बातें मत लिखिए। सिर्फ जरूरी पॉइंट्स लिखें।
- High-Quality Images: कभी भी low-resolution images इस्तेमाल न करें।
- Readability पहले: Fonts और colors ऐसे चुनें जो आसानी से पढ़े जा सकें।
- Simplicity is the key: Design जितना simple और neat होगा, उतना impactful होगा।
- Spacing पर ध्यान दें: Elements के बीच पर्याप्त gap रखें।
SEO Perspective से Banner Design in CorelDraw
जब आप डिज़ाइनिंग सीखते हैं, तब साथ-साथ अपनी skills भी promote करना ज़रूरी है। Internet पर “Banner Design in CorelDraw” keyword बहुत search किया जाता है। इसलिए अगर आप ब्लॉग, YouTube वीडियो या Fiverr, Upwork जैसी freelancing sites पर अपनी service डालते हैं और इस keyword को सही तरीके से use करते हैं, तो आपकी reach बढ़ जाएगी।
Conclusion
आखिर में यही कहेंगे कि Banner Design in CorelDraw कोई मुश्किल task नहीं है। सही method, थोड़ी creativity और practice से आप बेहतरीन बैनर बना सकते हैं—वो भी प्रोफेशनल लेवल के। CorelDraw आपको flexibility देता है text, shapes, color, gradient और powerclip जैसी powerful features का इस्तेमाल करने की।
एक अच्छा बैनर सिर्फ design नहीं, बल्कि branding और marketing का पहला impression होता है। इस step-by-step method के बाद अब आपके पास practical knowledge है कि आप खुद भी आसानी से Banner Design in CorelDraw बना सकते हैं।
तो अब बार-बार search करने की जगह CorelDraw खोलिए और अपने पहले banner design की शुरुआत कीजिए। कौन जाने, अगला शानदार flex banner आपके ही हाथों से बने और सब वाह-वाह करें। 🌟
Important Link: –
For Job Assistance – www.jobdo.in
For Technical Assistance – www.computeritpoint.com


